

When you buy a new house, people always say “the wall colors can change” and “YOU can make this house YOURS!” Easier said than done when you have wallpaper! Removing wallpaper as I mentioned in my previous post is a major headache and often, you damage the underlying drywall or have to retape (or spackle) the WHOLE room after the messy job is completed! That said – when you have non-textured wallpaper PAINTING OVER is an option!

when you have non-textured wallpaper PAINTING OVER is an option!
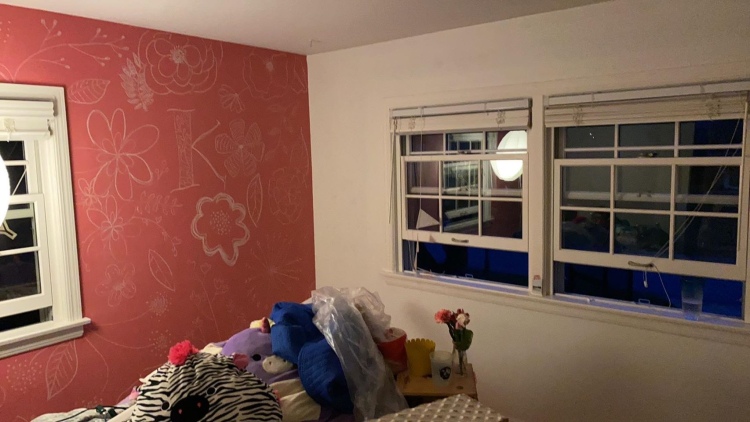
While looking at wallpaper in my bedroom closely, I discovered it was mostly on nice and tight, not peeling in any areas, and the windows were bordered with the above fabulous blue berries and flowers along wtih the entire ceiling – I chose to start painting the borders first since there was most color there.


I used latex paint from Sherwin Williams, and made sure that I kept the amount of paint on the brush and roller to a minimum – didn’t want too much paint on the wallpaper – it might cause it to peel! With this room, I didn’t need to do much spackling – but I did do some of the edges of the windows – to keep the sides of the border from showing under the paint. Besides the spackle of the borders, the room was painted like a typical room, edge the wall first, then roll the sucker with a wet edge (slightly overlapping each full stroke of the roller).

Just after TWO coats, you can see the difference in the wall WITH paint and the wall WITHOUT. At this point, I was already pleased with the changes – and if you look REALLY closely you can still see the lines.


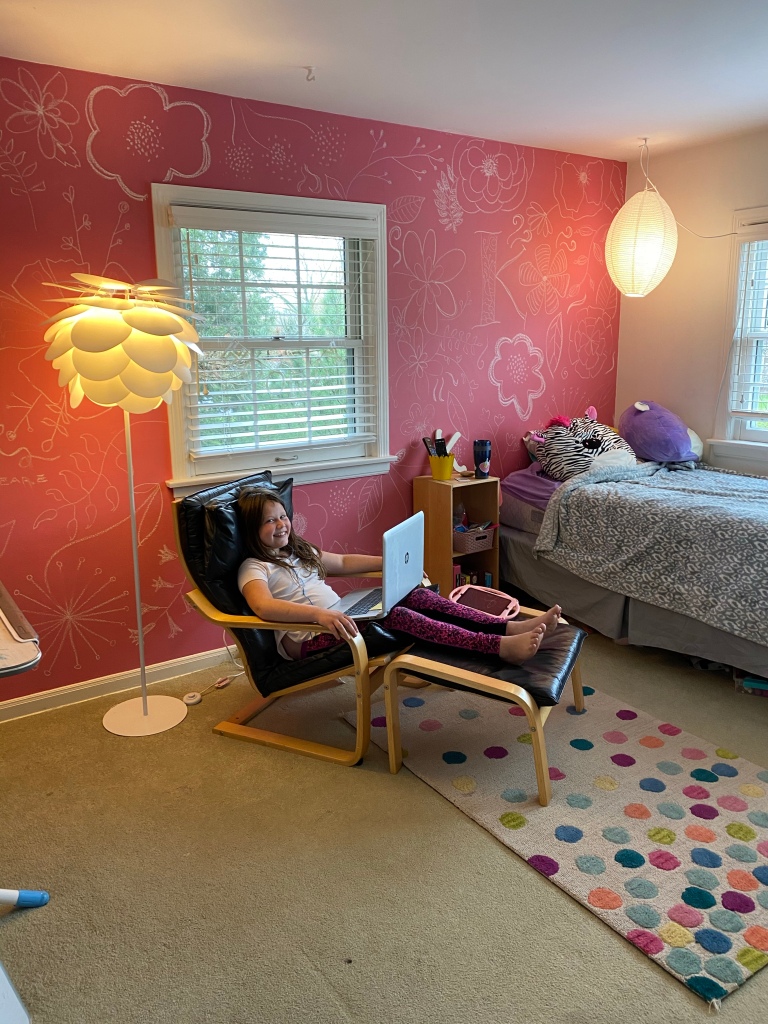
My bedroom is almost complete! I covered the wall paper except for behind my bed – that is coming up next! Take a gander at the before and after of my bedroom (with and without furniture of course!) After I finished this process, I went on to K’s rooom.


As I mentioned about my house previously, the person who lived here LOVED green, vines, and wallpaper. ALL the vines and wallpaper in this room especially! We love this room because of the bright windows and white blinds – and overall is AMAZING – we just wanted to bring a little bit more of K’s personality in here – and she isn’t too much into vines!

Approaching K’s wallpaper I tried the same exact steps as my room – but since this border was floating in the middle, it needed to be approached in a slightly different manner.


Again I used the pink spackle, this time going around the ENTIRE room and covering above and below the border – if I didn’t do this, the lines of the border would show under the paint! Flaws are not HIDDEN by fresh paint, they are magnified!


Due to the differences in this room, there was some rippling in the paper, more paint won’t fix that! Slice that sucker open and peel it off – spackle it and let it dry! You can spackle on top of the DRY paint (just make sure you sand down all the spackle – on the right picture above the ripple, you can see I need to keep sanding away to make it even with the wall!

Another tangent folks and, quite frankly, a public service announcement! If you paint your room, REMOVE your wall faceplates and cover your outlets with tape! As you can see above the previous owners painted (many times it seems) over these outlets – and one of the grounds (the small round part of the plug) was completely covered! It takes five minutes and even if you lose it or drop the screw, a new faceplate is around $1!


I had a handy man (my hubby) replace the above outlets and I promptly covered them with tape! He went around the whole room and changed out all of the outlets – even fixed the switch so one of the outlets can be used for a light! (We have lived here for a year and discovered that her useless “half hot” light switch controlled NONE of her outlets ha ha)


As you can see, the majority of the vines are gone! Finished another coat and it is finally done. Always remember, spackle, sand, tape! Painting is tedious but can be done like a professional with some attention to details – after sanding always vacuum up the dust, and keep a few old towels around to wipe up quick paint drips, etc!
Check out final pictures below – you CAN paint over wallpaper!!


I had no idea this could be done. Nice job!
LikeLiked by 1 person